How to Successfully Complete Front Door Installation at Home?
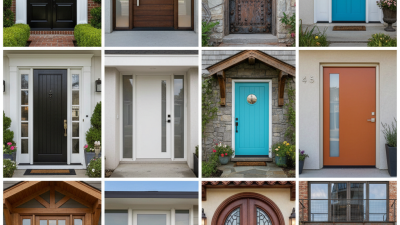
Front door installation is a critical yet often overlooked aspect of home improvement. According to the National Association of Realtors, new doors can recoup about 75% of their cost upon resale. This demonstrates the value of a well-installed front door. Additionally, 54% of homeowners report that front doors directly impact their home’s curb appeal. Therefore, understanding the nuances of front door installation is essential for maximizing both aesthetics and security.
However, the installation process can be intricate. Many homeowners underestimate the importance of precise measurements and proper material selection. Inaccurate installations can lead to issues such as drafts and security vulnerabilities. It's notable that the conflict between DIY enthusiasm and professional expertise often results in mixed outcomes. Poor installation can diminish energy efficiency, leading to increased utility bills. Thus, reflecting on these aspects can be the key to achieving a successful front door installation.

Understanding the Tools and Materials Needed for Front Door Installation
When installing a front door, having the right tools and materials is essential. Start with basic tools such as a hammer, a screwdriver, and a level. A measuring tape is crucial for ensuring the door fits perfectly in the frame. Consider using a chisel to refine any rough edges in the frame. Doing this helps avoid issues later on.
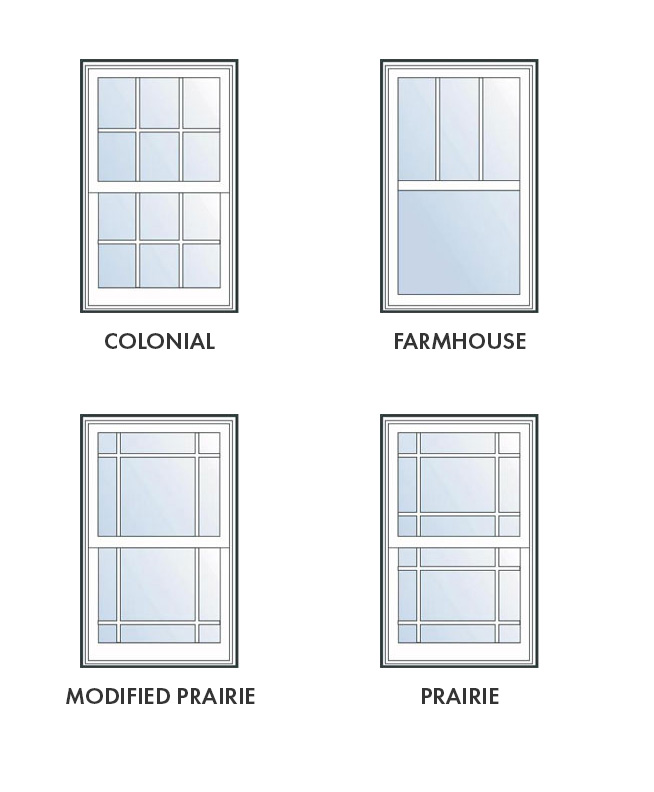
Materials are equally important. Choose a door that matches your home's style and climate. Look for weather stripping, which will improve energy efficiency. Hinges should be heavy-duty to support the door's weight. Sometimes, you might forget screws or other small parts, so double-check your list. It’s a common mistake that can delay the project.
You may find that things don't go as planned. Adjusting a misaligned door can be frustrating. Don't be discouraged by challenges; they offer learning opportunities. Each installation teaches you more about measurements, tools, and techniques. Reflect on what worked and what didn’t for future projects.
Measuring and Preparing the Door Opening for Installation
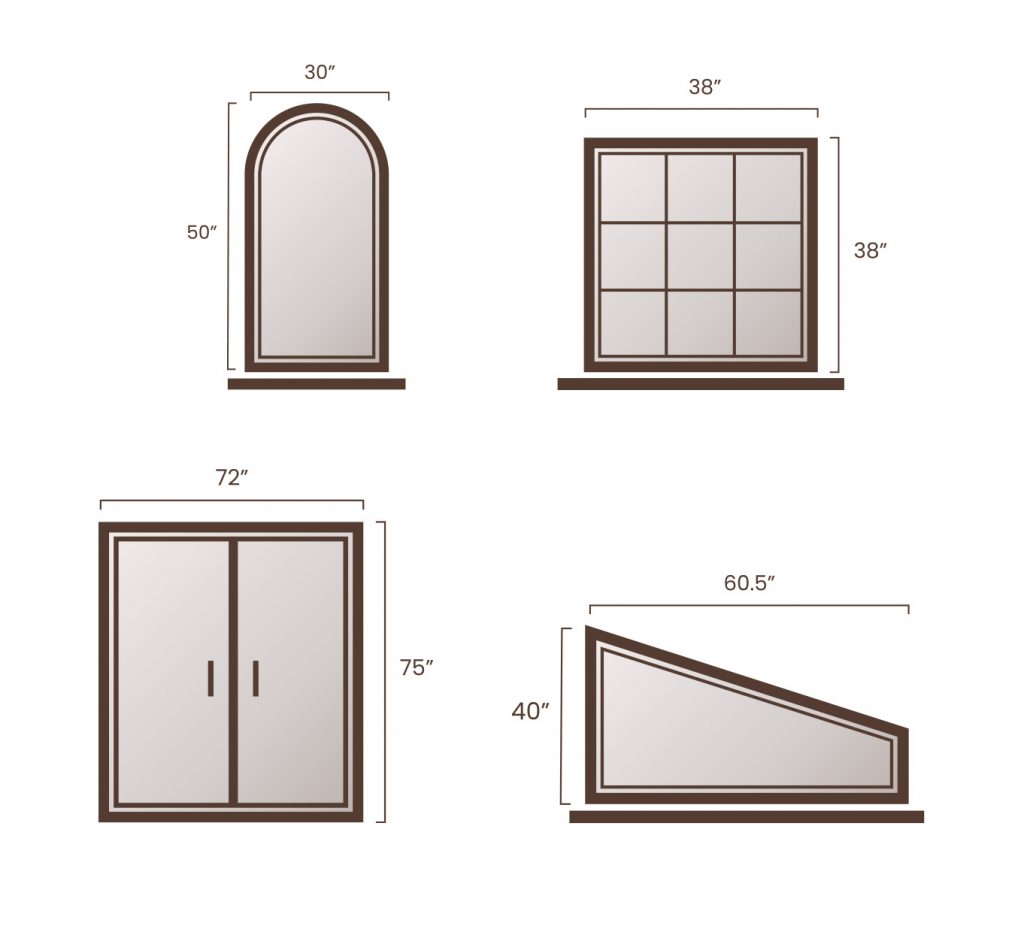
Measuring your doorway carefully is crucial for a successful installation. Start by clearing the area around the door. Remove any old hardware, trim, or obstacles. Use a tape measure to determine the height and width of the opening. Make sure to measure at multiple points. This helps account for any irregularities in the structure.
Check the depth of the door frame as well. An ideal frame should be level and square. Don’t overlook this step; an uneven frame can lead to problems later. Also, inspect the floor beneath the opening. It should provide solid support for the new door. If you find any issues, it’s best to address them before proceeding.
Once measurements are complete, it’s time for preparation. You may need to adjust the opening based on your measurements. Cutting or trimming the frame could be necessary. This part can be tricky. It requires precision and care. Think twice about each cut to avoid mistakes. Errors can lead to costly fixes. Take your time and aim for accuracy.
Removing the Old Door and Preparing the Frame for the New Door
Removing an old door can be challenging. It’s essential to gather the right tools. Safety goggles and a pry bar are crucial. According to a 2021 report by Home Improvement Research Institute, over 70% of homeowners underestimate the complexity of this task. You should start by removing any hardware. This includes hinges, knobs, and latches. Carefully pry the door off its frame. Sometimes, the door may be stuck due to paint or weather stripping.
Prepare the door frame for the new installation. Inspect the frame for damage. Any rot or warping must be addressed. About 30% of frames show signs of deterioration after many years, as noted by The National Association of Home Builders. A sturdy frame ensures the new door will align properly and seal well. Use a level to check the frame’s alignment. Any misalignments should be corrected before proceeding. This step is often overlooked. Ensure the frame is clean and free from debris. A poorly prepared frame can lead to drafts.
Proper preparation is key. It can be frustrating if things don’t go as planned. Take your time during this process. A rushed job can lead to errors that may require rework. Reflect on your progress as you go along. Check your alignments again if needed. This attention to detail can save time and effort in the long run.
How to Successfully Complete Front Door Installation at Home?
| Step |
Description |
Tools Needed |
Estimated Time |
| 1 |
Remove the old door by taking off the hinges. |
Screwdriver, Hammer |
30 minutes |
| 2 |
Inspect and repair the door frame if necessary. |
Level, Wood Filler |
1 hour |
| 3 |
Measure the new door and ensure it fits the frame. |
Tape Measure, Level |
20 minutes |
| 4 |
Install the new door, aligning it with the hinges. |
Drill, Screws |
1 hour |
| 5 |
Test the door for smooth operation and adjust if necessary. |
Screwdriver, Level |
15 minutes |
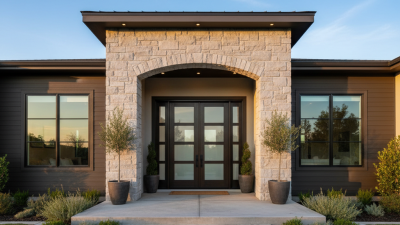
Installing the New Front Door: Steps and Best Practices
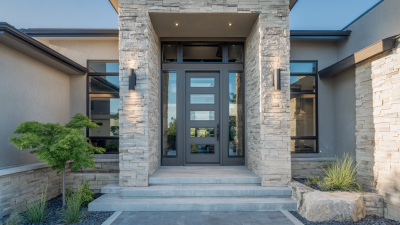
Installing a new front door can greatly enhance your home's appeal and security. Gather all necessary tools before starting. You will need a measuring tape, level, screwdriver, and shims. It’s essential to carefully measure your door frame to ensure an accurate fit. Many people underestimate this step, leading to gaps or misaligned doors. Double-check your measurements; it saves time later.
Removing the old door requires some caution. Carefully take off the hinges and lift the door away. Pay attention to any trim around the frame. When installing the new door, position it in the frame and check that it is level. It’s easy to get this wrong, so use shims to hold it in place. Adjust and make sure everything aligns properly before securing it. Small mistakes can lead to future issues, like drafts or difficulty closing. Take your time and make adjustments as needed, even if it feels frustrating.
Sealing and Finishing Touches After Door Installation
After completing the installation of your front door, attention to sealing and finishing touches is crucial. A well-sealed door enhances energy efficiency and prevents drafts. Start by inspecting the gaps around the doorframe. If you notice any spaces, use weatherstrip material to seal them. This is where many overlook details. Ensuring all gaps are filled can make a big difference.
Tips: Measure the gaps before purchasing materials. Use a caulking gun for precision. This tool helps apply even layers. For corners, angle the tip to reach tricky spots.
Don’t ignore the door threshold. Apply a bead of caulk at its base to seal it properly. Achieving a seamless look requires patience. If you're using paint or stain, pay close attention to any drips. It’s easy to overlook these small imperfections, but they can affect the overall appearance.
Tips: Use painter's tape to create clean lines. Allow each coat to dry thoroughly before adding another. This prevents bubbling and uneven texture. Careful application leads to a polished final product. Missing these details can lead to a door that looks good from afar but not up close.