10 Tips for Choosing the Best Garden Shed?
Choosing a Garden Shed is about more than finding a style that looks good beside the house. It should protect the things you use and fit the space you actually have. A roomy model can seem appealing in a store, yet feel awkward beside a gate or narrow path. The right choice depends on your yard, storage needs, local weather, and budget. Measure the site carefully, including the space needed to open doors and move around the shed. Small details matter.
Think about what you will store before comparing materials or prices. A mower needs a wide entrance, while hand tools can fit on shelves. Timber, metal, and resin each have practical trade-offs in maintenance, durability, and appearance. No material is perfect. A level, well-drained base and adequate ventilation can also help prevent damp problems, though they do not replace sound construction. Check product specifications, warranty terms, and any local requirements before buying. These checks may feel tedious, but they can prevent expensive surprises.
The ten tips in this guide will help you assess size, materials, security, access, upkeep, and value. They are starting points, not a substitute for examining your own site. A shed that suits one garden may be a poor fit for another. Take measurements, picture your daily routine, and be honest about what you will store. That last part is easy to skip. It is often where a better decision begins.
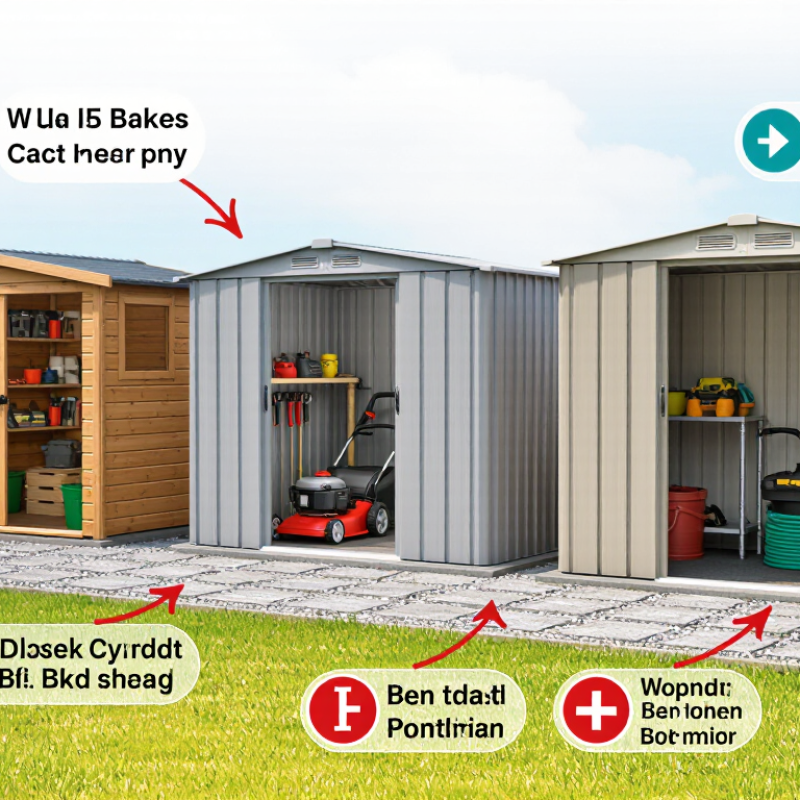
Assess Your Storage Needs and Available Garden Space
Start with what the shed must hold, not the size you think will look right. List bulky items such as a mower, wheelbarrow, and long-handled tools, then measure their actual dimensions. A mower may fit through the doorway but leave no room to turn. Measure twice. Allow space for shelves, seasonal items, and a little future overflow. Be honest about what you will store; “just one more box” has a way of multiplying.
Next, measure the garden area and the route to it. Check the shed’s exterior footprint, door swing, and roof overhang, then leave a clear path for carrying equipment in and out. Leave room to work. Look up for low branches and check whether rainwater collects on the ground after a storm. A dry, fairly level spot makes access easier and helps protect stored tools. I’d also recheck measurements after marking the footprint with string; a paper plan can make a tight corner seem roomier than it is. Consider how the shed will look from the house and whether opening its doors will block a gate, path, or planting bed.
Choose a Shed Material Suited to Your Climate and Upkeep Preferences
Your climate should guide the shed material as much as its price. In damp regions, untreated wood can absorb moisture and decay, especially where walls sit close to wet ground. A raised, well-drained base helps, while paint or stain adds upkeep you will need to repeat. Metal sheds resist rot, but scratched coatings and exposed fasteners can rust in persistent rain or salty air. Check how the panels and fixings are protected, not just the material listed on the product sheet.
In sunny, hot areas, resin or composite sheds need suitable UV protection; intense exposure can fade or weaken some plastics. No material is maintenance-free. Not quite. Before choosing, consider how often you are willing to inspect seams, clear roof debris, repaint surfaces, or tighten fittings. Snow, wind, and local humidity also affect what a shed can safely handle, so check the manufacturer’s specifications and prepare the base carefully. A shaded corner may reduce sun damage, but it can stay damp longer. That trade-off is easy to miss. Reassess your choice against the actual spot in your yard, not just the regional forecast.
Compare Shed Size, Layout, Doors, and Ventilation
A shed should fit your routines, not just your lot. A 6-by-8-foot model offers 48 square feet, but mower handles and long tools need clear turning space. Sketch the floor and mark shelves, bins, and the widest item before buying. I still tend to underestimate door clearance. A single narrow door can make a bulky wheelbarrow awkward; double doors help, but need room to swing open. Sliding doors save that space, though their tracks can collect leaves and grit.
Think about airflow as part of the layout. Place vents on opposite walls when possible, and keep stored items clear of them. The USDA Forest Products Laboratory’s Wood Handbook notes that decay fungi generally need wood moisture content above about 20%. That is a warning sign. The U.S. Environmental Protection Agency’s Moisture Control Guidance recommends indoor relative humidity below 60%, ideally 30–50%; those figures are useful targets, not a shed-specific guarantee. Add roof overhangs, a raised floor, and vents sized for the shed’s design. Check after rain. A damp corner can reveal a flaw that a floor plan missed.
Check Foundation Requirements, Local Rules, Security, and Weatherproofing
10 Tips for Choosing the Best Garden Shed
Tip 1: Check the foundation before choosing a shed. Soft soil, slopes, and standing water can cause shifting. Tip 2: Choose a stable base suited to the site and shed weight. Tip 3: Leave room for drainage around it. A shallow gravel border can help keep rainwater away. Tip 4: Measure the access route, too. A shed that cannot reach its prepared base is a frustrating surprise.
Tip 5: Ask your local planning or building office about size limits, setbacks, and permits. Rules vary by location, so do not rely on a neighbor’s shed as a guide. Tip 6: Check any property or community restrictions that apply. Tip 7: Plan security before installation. A sturdy door, protected hinges, and a good-quality hasp can deter casual tampering. Keep the shed visible from the house, and avoid storing valuables in plain sight.
Tip 8: Look for a roof with sound flashing and edges that direct water away from walls. Tip 9: Seal exposed joints, but preserve ventilation to reduce trapped moisture. Tip 10: Match materials and finish to local weather, including strong sun, heavy rain, or freeze-thaw cycles. I used to focus too much on appearance; damp corners taught me otherwise. Check the shed after the first storm, then fix small leaks promptly.
Compare Costs, Warranties, Assembly Needs, and Long-Term Value
Compare the purchase price with the full cost of getting the shed ready to use. Include delivery, a level base, fasteners, paint, and any tools you may need. A low-priced kit can become less attractive when these extras add up. Write down your estimate; it may still be imperfect, but it is more useful than guessing.
Read the warranty before choosing. Check how long the roof, panels, and frame are covered, and note exclusions for water damage, rust, or poor installation. Ask whether you must keep receipts or follow specific maintenance steps. Small print matters. Assembly also affects value. Find out whether the kit needs two people, special tools, or several hours of work. Lay the parts out on a dry, flat surface, and check that the instructions show each stage clearly. If assembly feels beyond your skills, include professional help in your budget.
Think about the years after installation, not just opening day. A sturdy floor, replaceable parts, and materials suited to your local weather can reduce future repairs. Check roof joints and door hinges; these details are easy to overlook. It is tempting to choose the longest warranty, but coverage terms and build quality deserve equal attention. No option is perfect, so decide which compromises you can live with.
10 Tips for Choosing the Best Garden Shed
Compare costs, warranties, assembly needs, and long-term value
How to use this chart: These broad U.S. planning estimates show that kit prices vary by material and product. Actual costs depend on size, design, delivery, foundation, and local market. Before buying, compare warranty coverage and exclusions, check whether assembly or a foundation is included, and consider maintenance needs alongside the upfront price.